Competence
Computational Design — Archive of Practice
- 01Input05
- 02Geometry05
- 03Optimization03
- 04Output09
Preparing visual, printed, and fabricated output from the digital model.
- 04.01Cut and generate architectural sectionsUpcoming
Archived — content in progress. Not yet available.
- 04.02Export clean 2D linework from a 3D modelUpcoming
Archived — content in progress. Not yet available.
- 04.03Keep text and dimensions at the correct scaleUpcoming
Archived — content in progress. Not yet available.
- 04.04Control line weights and line types for printingUpcoming
Archived — content in progress. Not yet available.
- 04.05Manage messy hatches and overlapping elementsUpcoming
Archived — content in progress. Not yet available.
- 04.06How to avoid colour and display errors when printing?
Rhino separates the on-screen Display Colour from the output Print Colour — control both, plus a PrintDisplay preview, to get clean black-and-white line work.
- Workspace vs. Paper Space (Layout)
- PrintDisplay
- Layer Setting vs. Object Property
- 04.07Fix blurry lines and pixelated PDF exportsUpcoming
Archived — content in progress. Not yet available.
- 04.08Prepare a digital model for 3D printingUpcoming
Archived — content in progress. Not yet available.
- 04.09Choose the right settings for renderingUpcoming
Archived — content in progress. Not yet available.
How to avoid colour and display errors when printing?
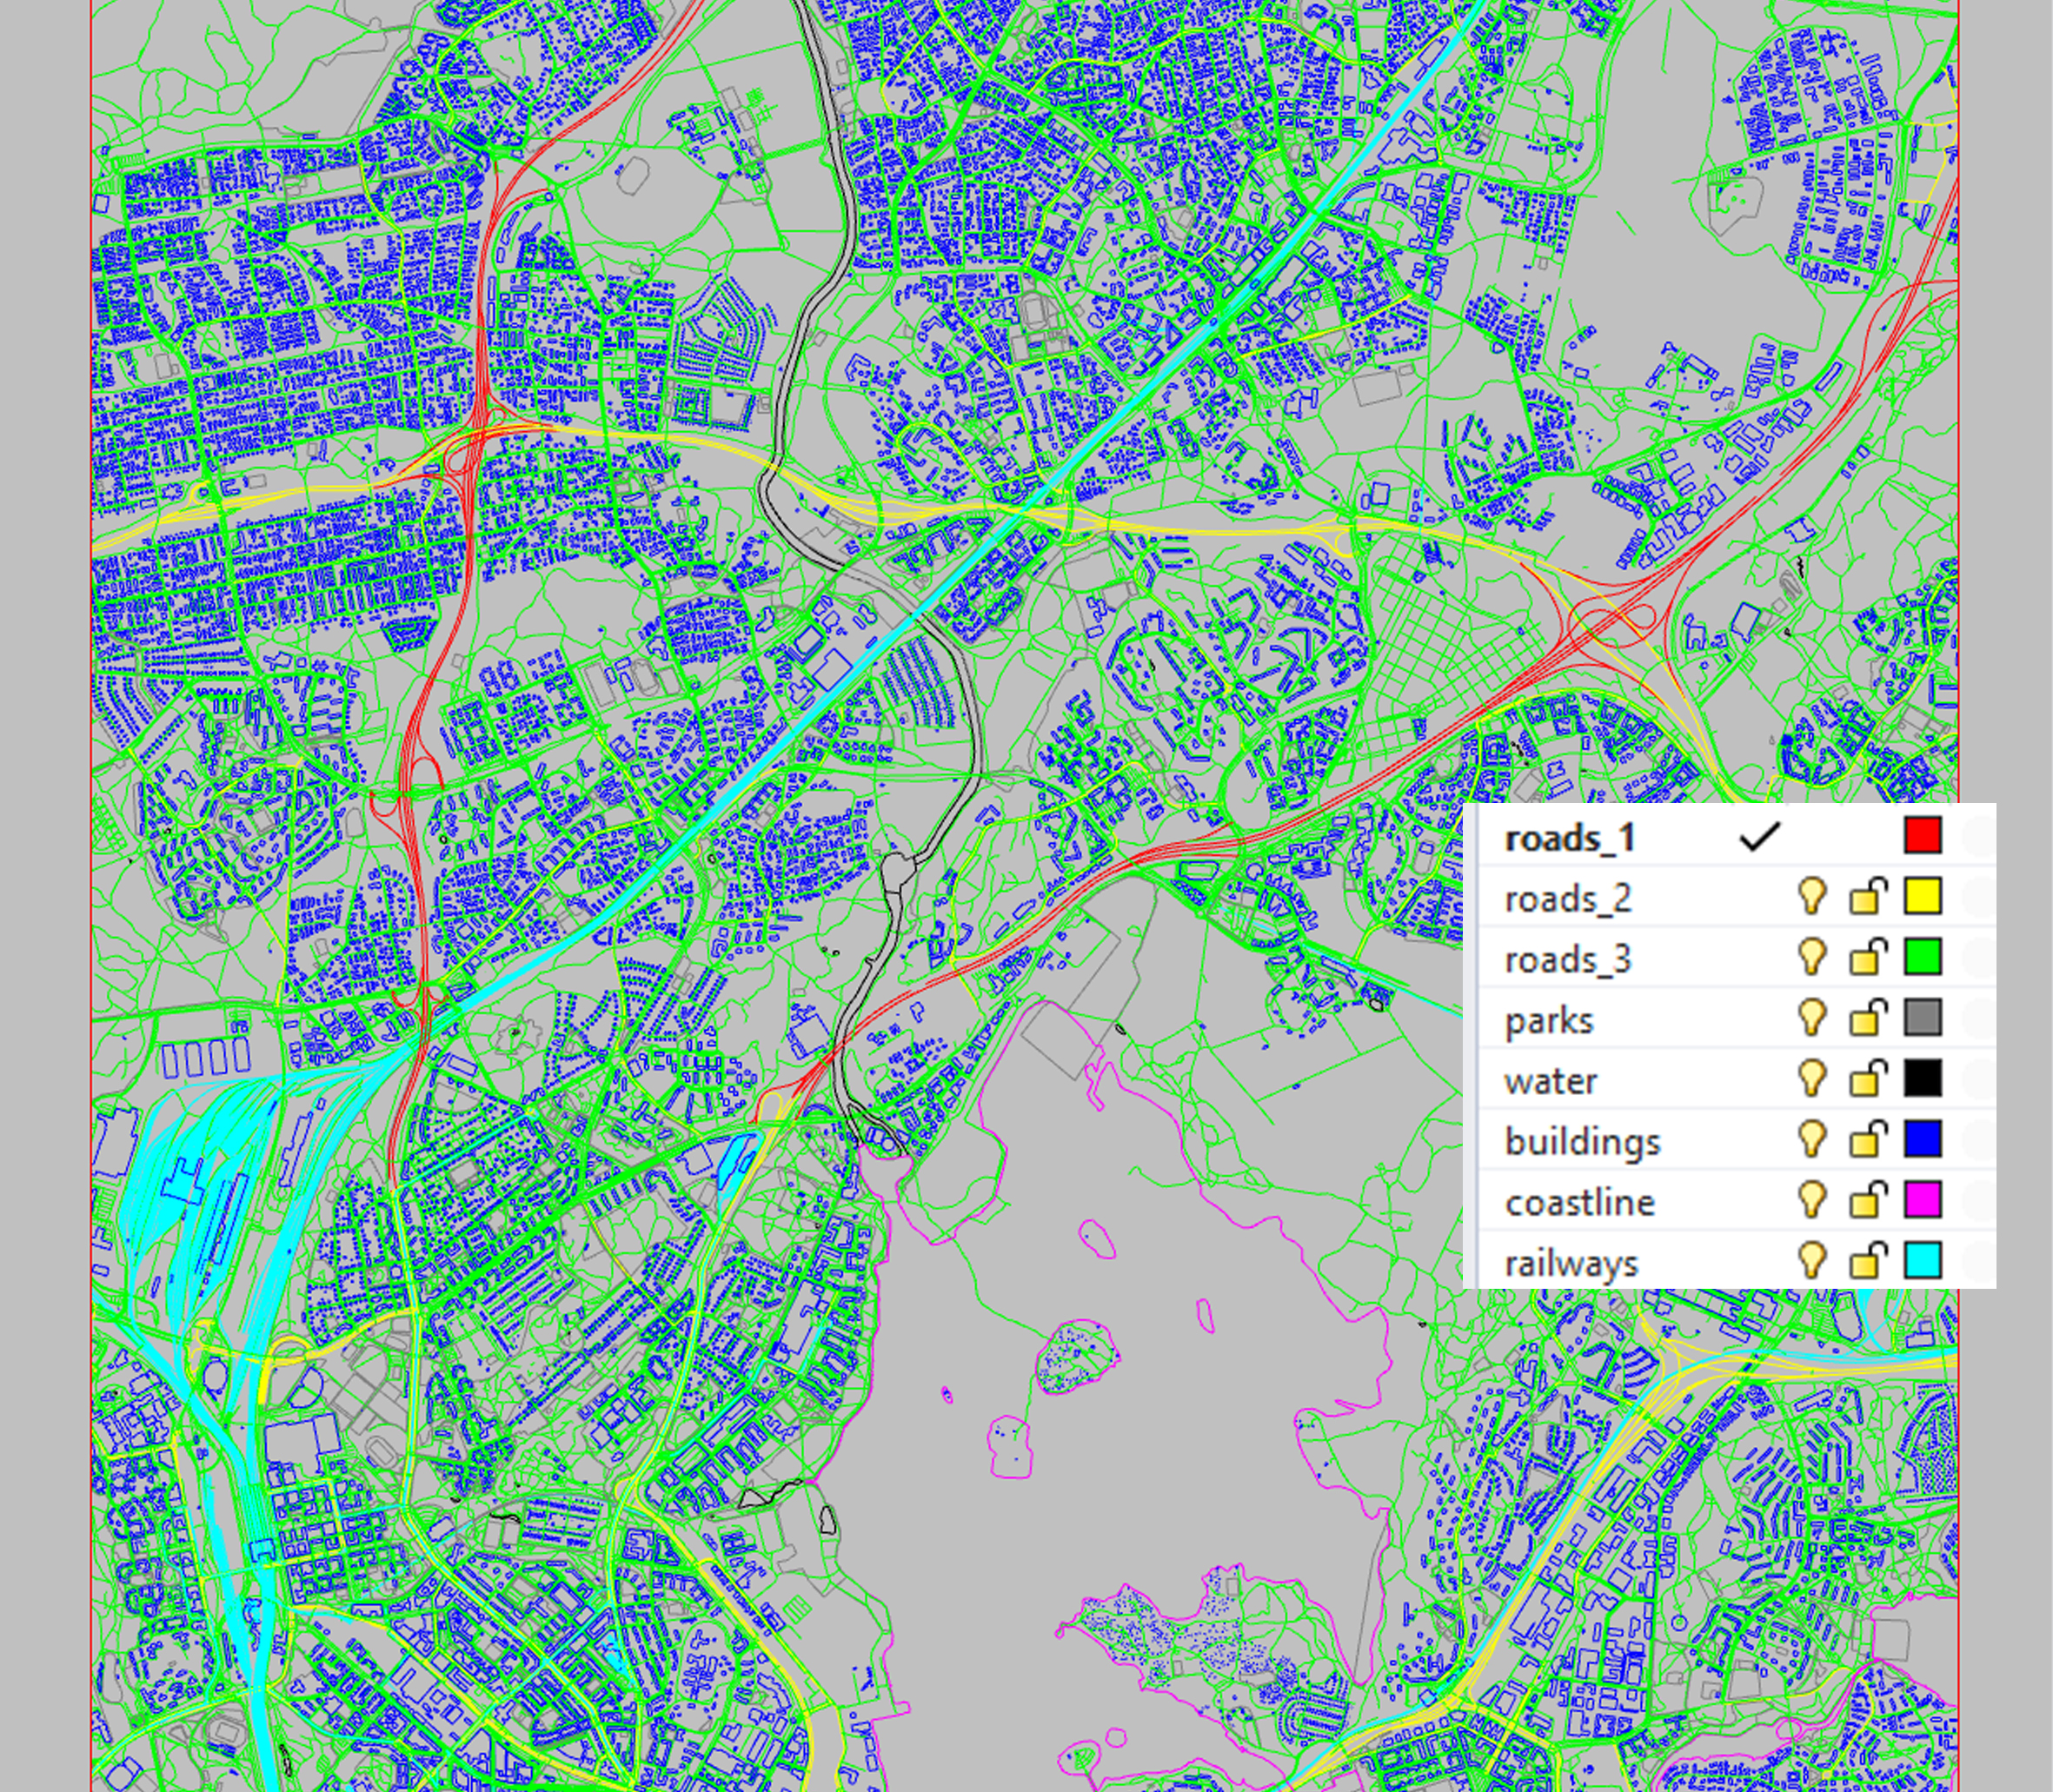
Description
In digital modelling, we use vibrant colours to easily distinguish different geometries. This is known as the “Display Colour,” which makes the modelling process easier to view and manage. However, when outputting 2D architectural drawings, clear black-and-white line work is usually required, which is controlled by the “Print Colour.” Rhino intentionally separates these two systems: one is designed for your visual convenience while working, and the other ensures a unified and accurate colour output when printing.
Tips
-
Utilise the dual-colour system in the Layers panel
Keep different
Display Coloursfor your layers to help you model more efficiently, but unify all theirPrint Coloursto black for output. -
Enable real-time preview with PrintDisplay
Use
PrintDisplaycommand and set its state to “On”. This forces your viewport to simulate the actual print colours and line weights, helping you spot errors before exporting. -
Understand object property overrides
In Rhino, a geometry’s individual colour or line weight setting will override its layer settings. It is highly recommended to set all objects to
By Layerto manage them systematically, and then use thePropertiespanel to apply individual settings to specific objects. -
Printing Setting
When setting up your print window (Ctrl+P), select
Black and Whiteunder theOutput Coloursettings. This acts as a final safeguard to prevent any unwanted colours from showing up in your PDF export.
Keywords
[C] concept
- Workspace vs. Paper Space (Layout)
- WYSIWYG (What You See Is What You Get)
[L] logic
- Layer Setting vs. Object Property
- Properties Override
[T] tool
- PrintDisplay
- Print Colour & Display Colour
- Object Property