Design
building sustainable digital workflows

- 01Input06
- 02Geometry03
- 03Optimization04
- 04Output07
Preparing visual, printed, and fabricated output from the digital model.
- 04.01How to turn a 3D model into plans, sections and elevations?Upcoming
- 04.02How to make technical drawings clear and readable?Upcoming
- 04.03How to avoid colour and display errors when printing?
- 04.04How to fix blurry lines and pixelated PDF exports?
- 04.05How to choose the right settings for rendering?
- 04.06How to prepare a digital model for 3D printing?
- 04.07How to prepare a model for laser cutting?Upcoming
How to avoid colour and display errors when printing?
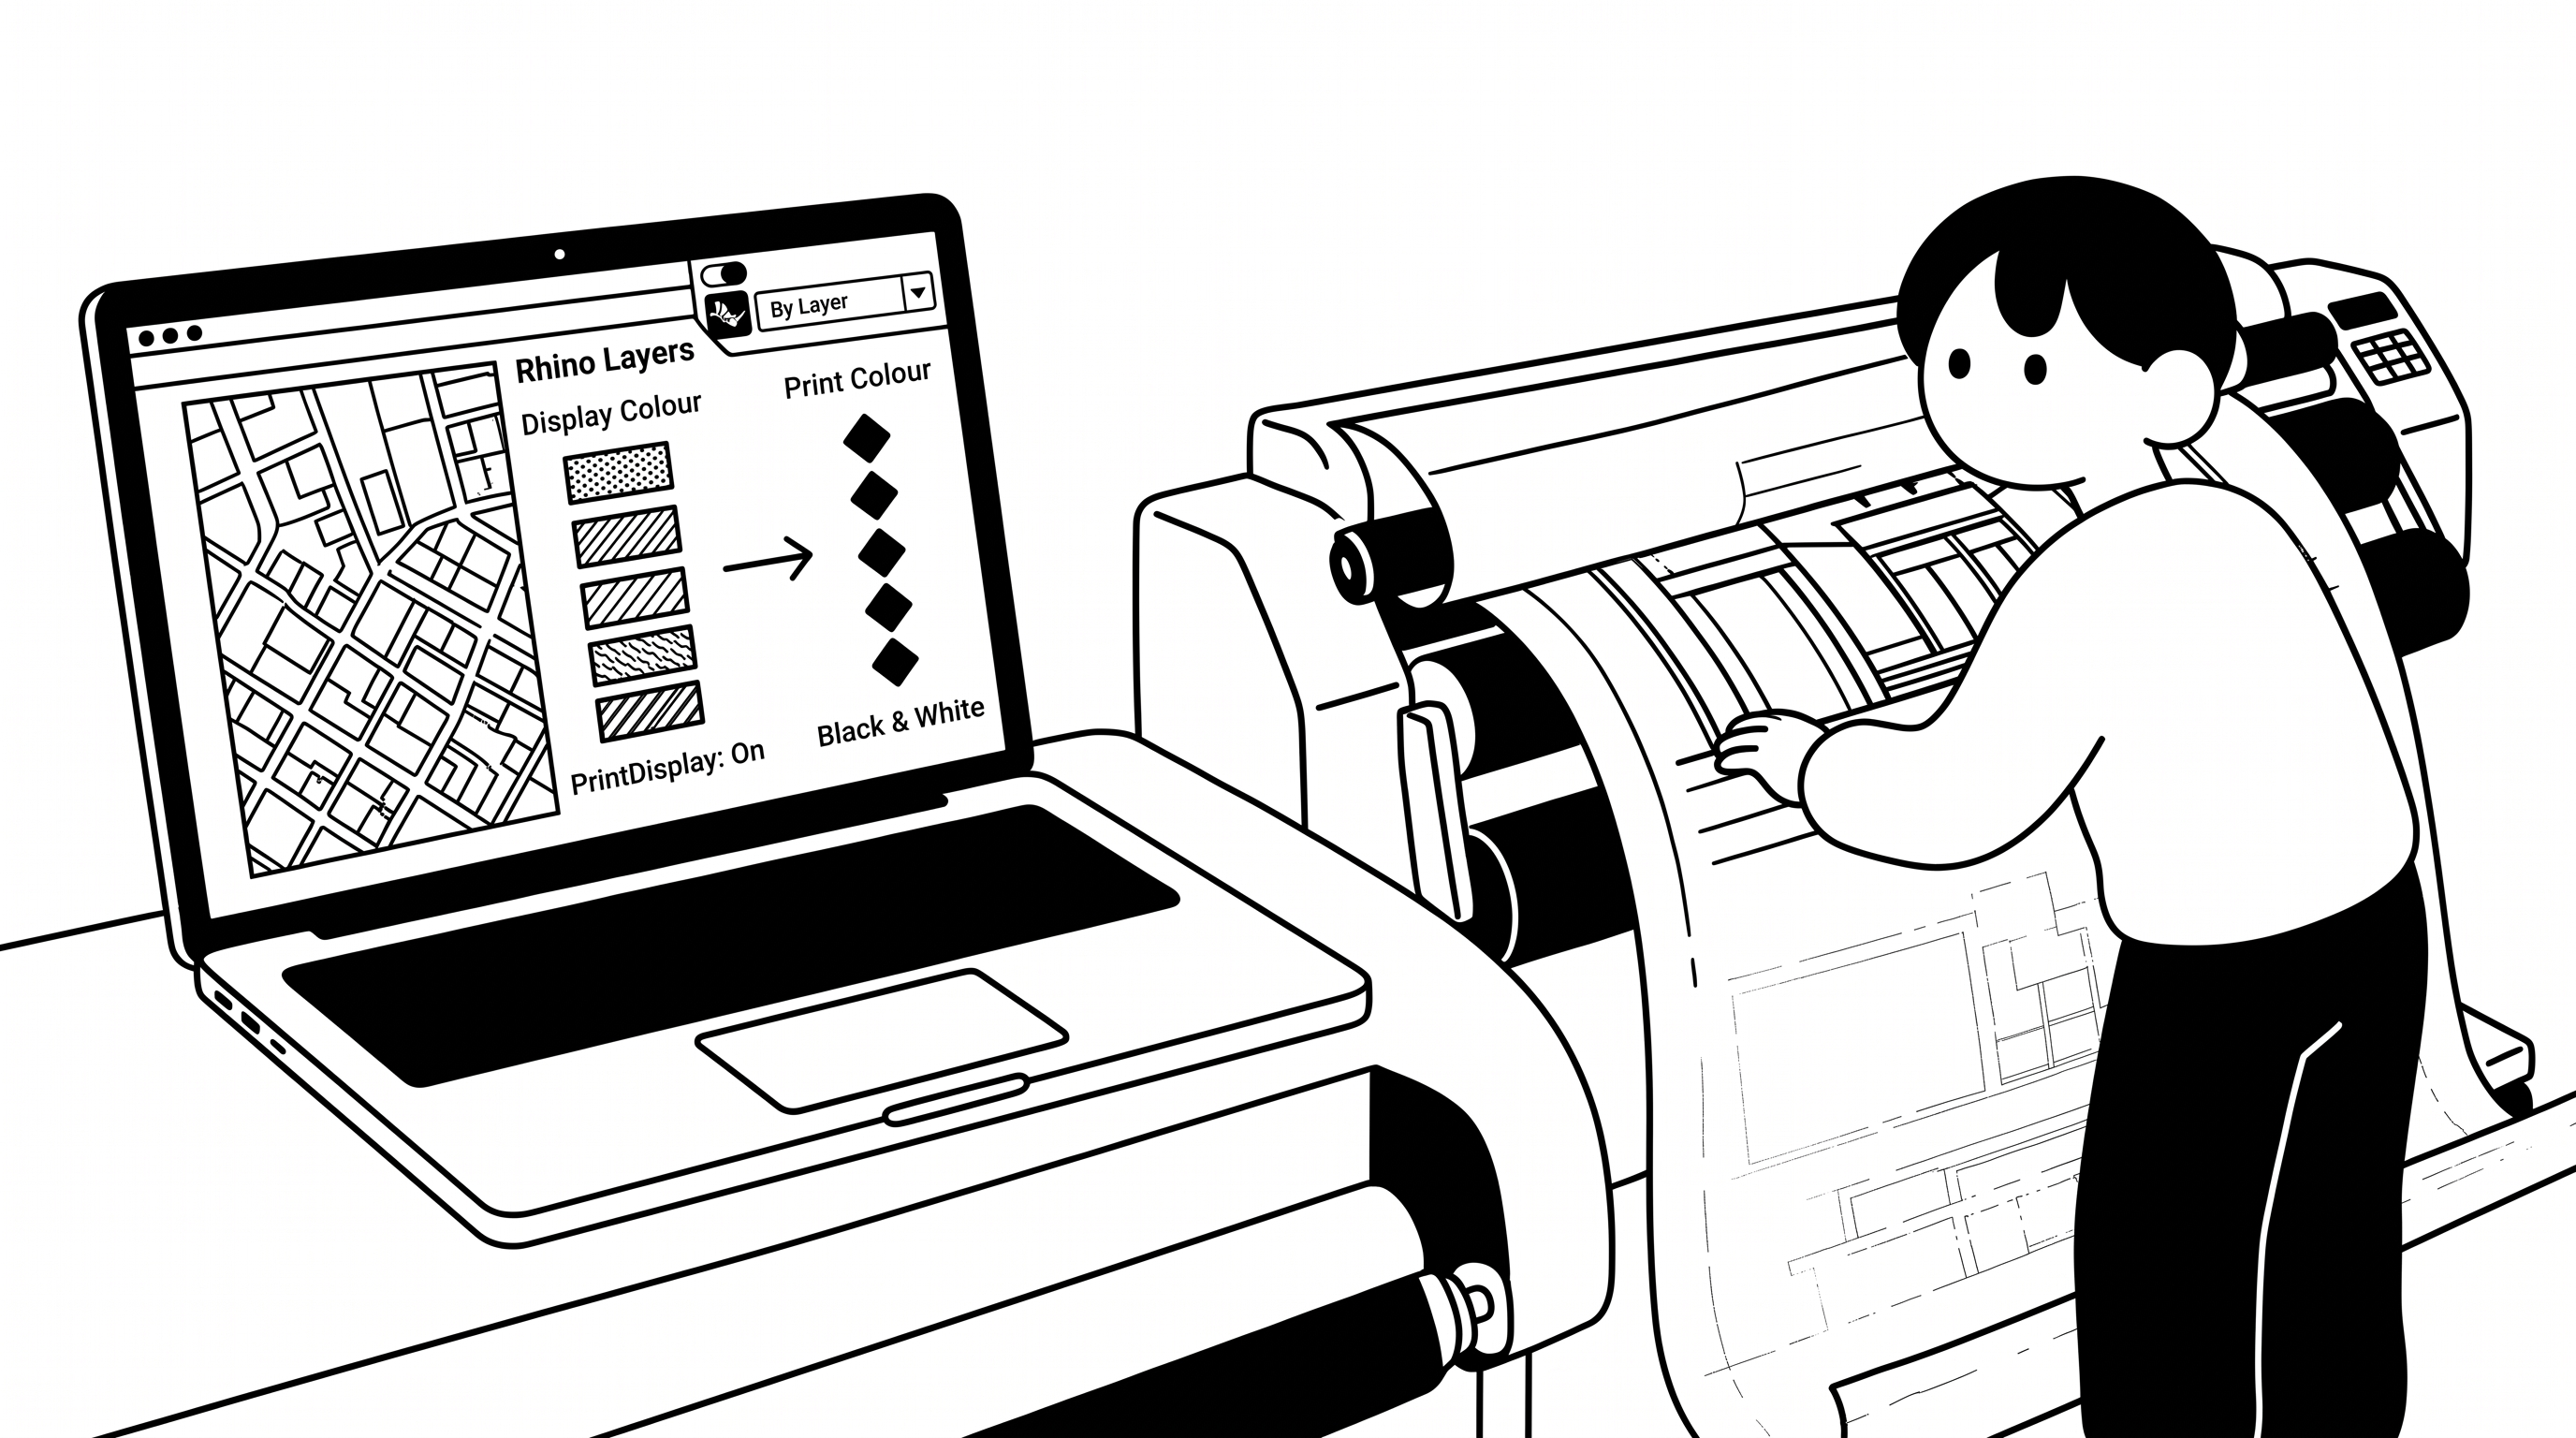
What you see on screen is not automatically what prints. Colours and line weights are set in several places — layers, objects and the Print dialog — so check them all before you export.
Display Colour vs. Print Colour
Every layer has a display colour for working on screen and a separate print colour for output. Keep bright display colours, but set print colours to black or grey.
You may notice:
- Drawings print in bright modelling colours
- Lines on paper look different from the screen
Preview with PrintDisplay
Type PrintDisplay and turn it on: the viewport then shows print colours and line weights, so you can spot errors before exporting.
You may notice:
- The exported PDF looks different from the viewport
- Line weight problems only show up after printing
Search for
Tutorial
No video yet
Object Properties Override Layers
Objects normally take their colour and line weight from their layer (“By Layer”). A setting on the object itself wins over the layer — so keep “By Layer” in the Properties panel and override only on purpose.
You may notice:
- One object prints in the wrong colour, although its layer is correct
- Changing a layer's colour doesn't affect some objects
Print Settings
In the Print dialog (Ctrl/Cmd+P), check the scale and print area first. Then pick Output color: “Print color” keeps the greys you set on purpose; “Black and white” turns everything black — a last safeguard against stray colours.
You may notice:
- Unexpected colours appear in the exported PDF
- The layout prints at the wrong scale or with parts cut off