Design
building sustainable digital workflows

- 01Input06
- 02Geometry03
- 03Optimization04
- 04Output07
Preparing visual, printed, and fabricated output from the digital model.
- 04.01How to turn a 3D model into plans, sections and elevations?Upcoming
- 04.02How to make technical drawings clear and readable?Upcoming
- 04.03How to avoid colour and display errors when printing?
- 04.04How to fix blurry lines and pixelated PDF exports?
- 04.05How to choose the right settings for rendering?
- 04.06How to prepare a digital model for 3D printing?
- 04.07How to prepare a model for laser cutting?Upcoming
How to prepare a digital model for 3D printing?
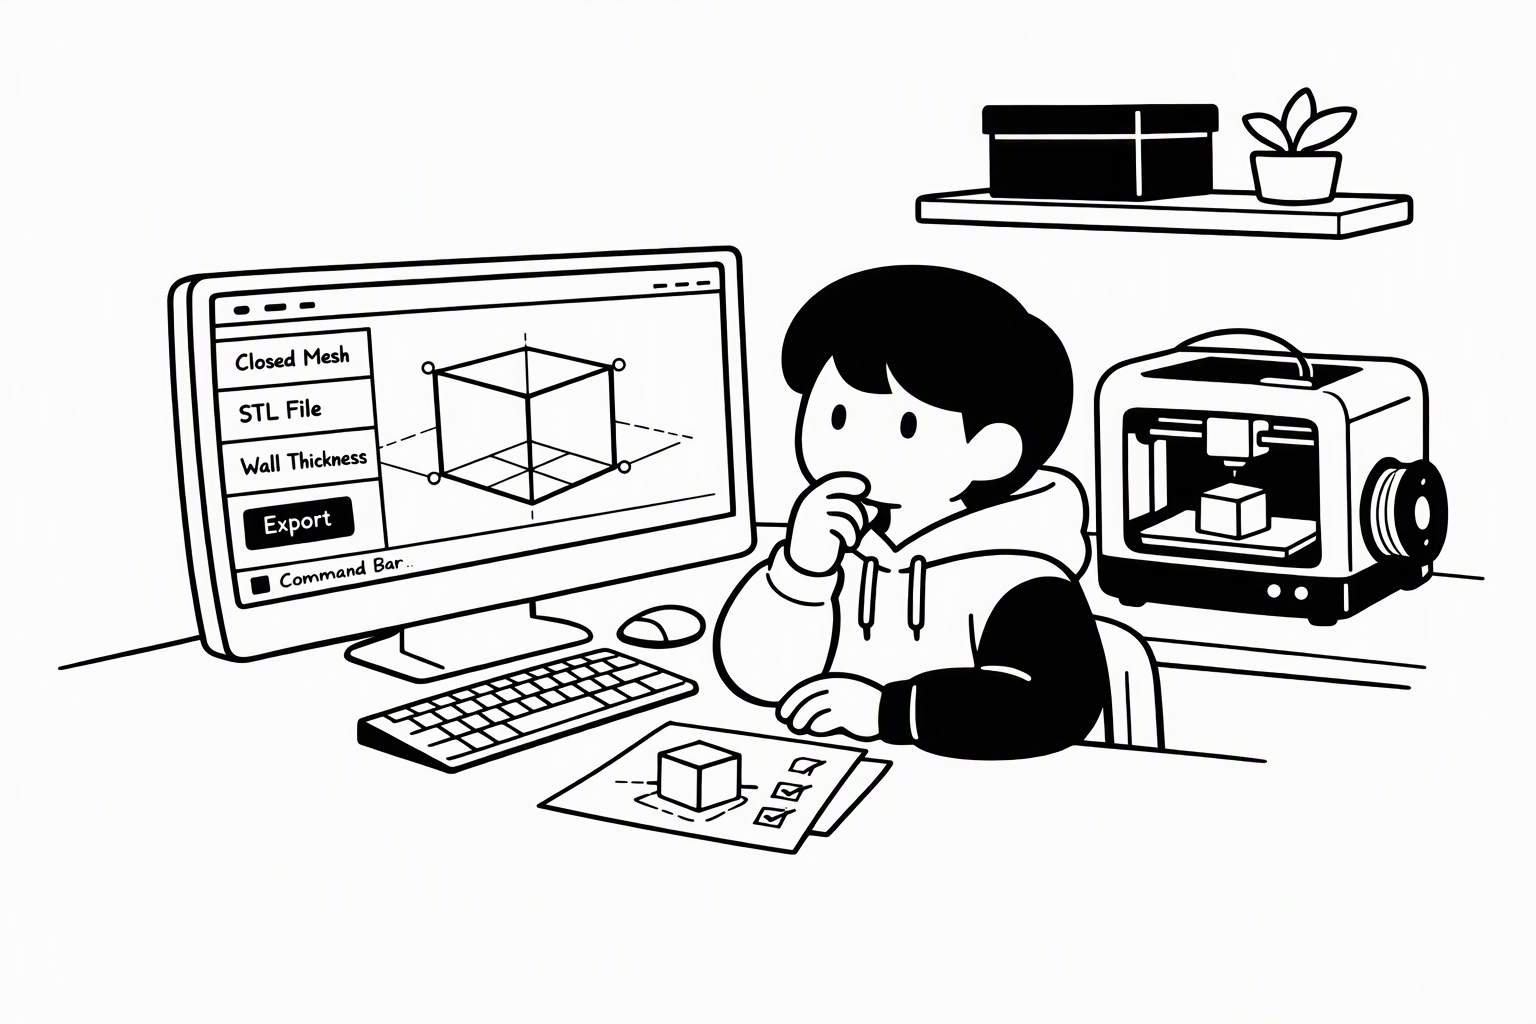
A 3D printer builds a real object layer by layer, so the model must describe something that could physically exist. This card uses the most common type, FDM (melted plastic), as the example: the object needs a closed volume, enough thickness and something to stand on.
A Closed Volume
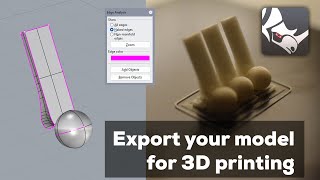
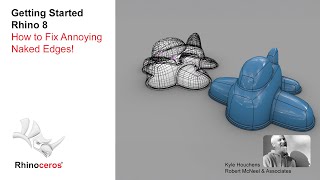
The printer must know what is inside and outside, so the model has to be a closed solid. A single surface has no thickness and won't print: thicken it (OffsetSrf) and close every gap before export.
You may notice:
- Roofs or walls modelled as single surfaces vanish in the print preview
- The printer software says your model has holes
Search for
Scale & Minimum Thickness
Scaling a building down shrinks every part: at 1:200 a 20 cm wall becomes 1 mm, near a printer's limit. Fix the scale first, then thicken or drop details thinner than the printer's minimum wall.
You may notice:
- Railings, mullions or thin walls are missing from the print
- Fine details come out as blobs
Search for

Overhangs & Supports
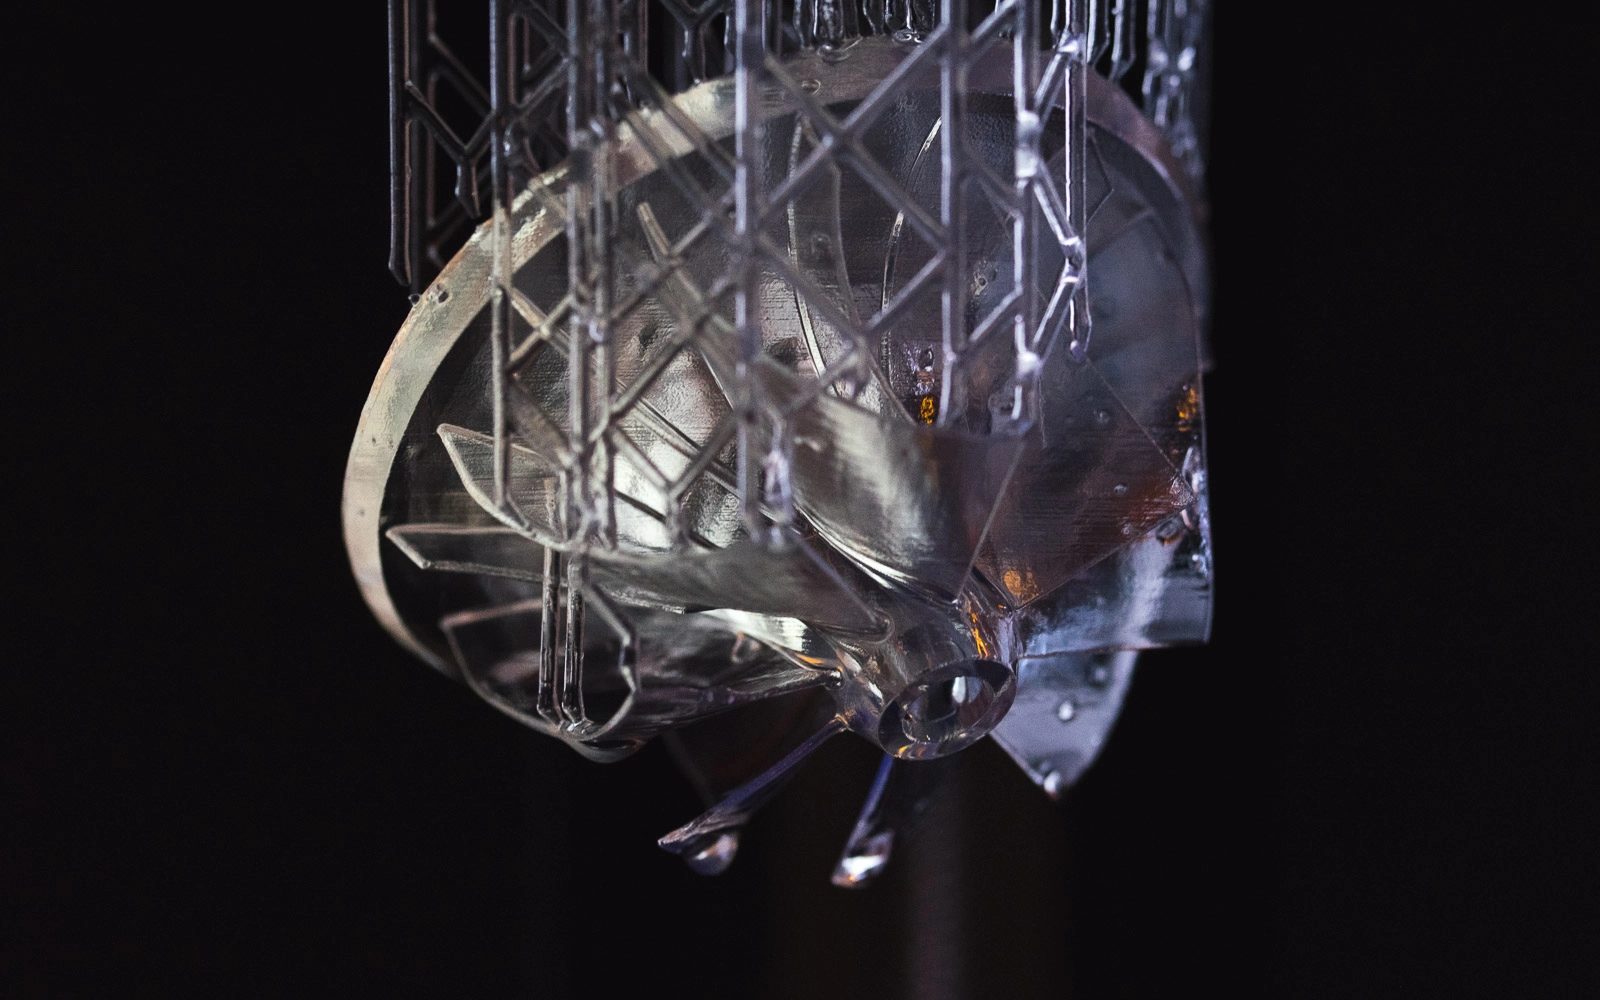
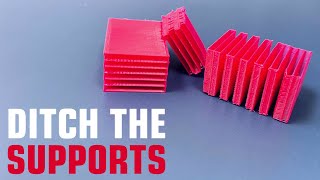
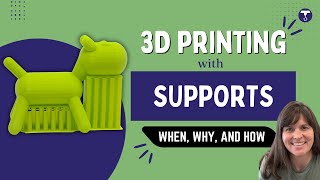
FDM printers stack melted plastic layer by layer, so each layer needs something below it. Parts leaning out more than about 45° need supports, which leave marks — turn or split the model to avoid them.
You may notice:
- Overhanging roofs or balconies print as stringy spaghetti
- Support marks spoil the surfaces you wanted to show
Search for
From Model to Slicer
Printers read meshes, not NURBS: STL works everywhere but stores no units, 3MF keeps units and colours. A slicer then cuts the mesh into layers and print paths — ask your workshop for its settings.
You may notice:
- Your model arrives in the slicer 1000× too small or too big
- Curved parts print with visible flat facets