Design
building sustainable digital workflows

- 01Input06
- 02Geometry03
- 03Optimization04
- 04Output07
Preparing visual, printed, and fabricated output from the digital model.
- 04.01How to turn a 3D model into plans, sections and elevations?Upcoming
- 04.02How to make technical drawings clear and readable?Upcoming
- 04.03How to avoid colour and display errors when printing?
- 04.04How to fix blurry lines and pixelated PDF exports?
- 04.05How to choose the right settings for rendering?
- 04.06How to prepare a digital model for 3D printing?
- 04.07How to prepare a model for laser cutting?Upcoming
How to choose the right settings for rendering?
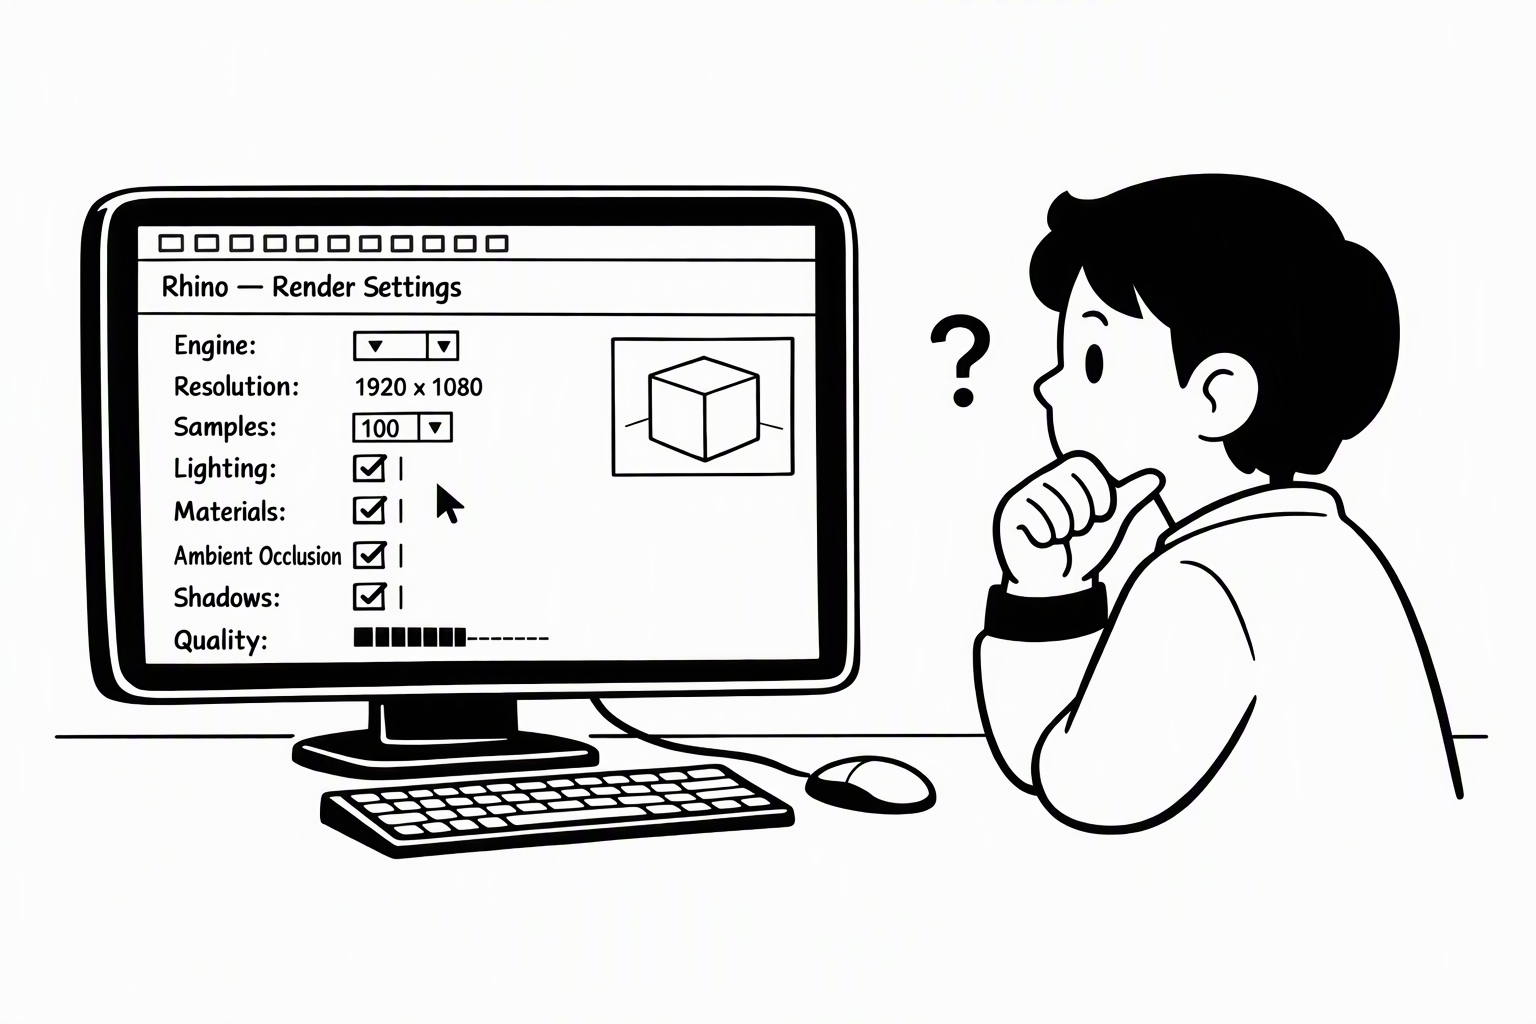
There is no setting that works for every render — each scene needs its own. Instead of copying numbers, learn the few decisions behind every image: light, materials, camera, and how much quality you can wait for.
Light
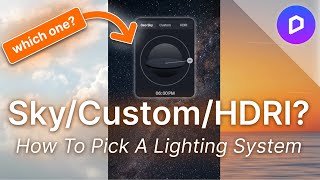
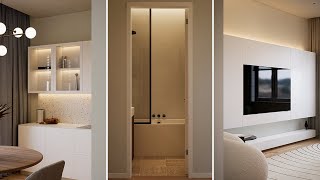
Light sets the mood more than any other setting. Pick the time of day and sun direction on purpose, or light the scene with an HDRI sky; then set the exposure so sky and shadows both keep detail.
You may notice:
- Your render looks flat and grey, with no clear shadows
- The interior is pitch-black, or the windows are pure white
Search for
Materials
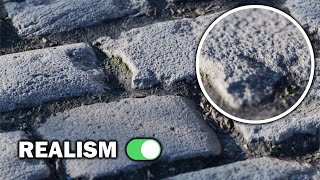
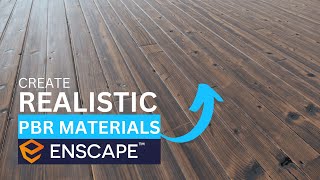
A realistic material describes how a surface reacts to light — colour, roughness, reflection — not just a picture; most renderers share this PBR system. Check the texture scale too: a 2 m brick gives it away.
You may notice:
- Everything looks like shiny plastic
- Bricks or wooden boards look far too big or too small
Search for
Camera
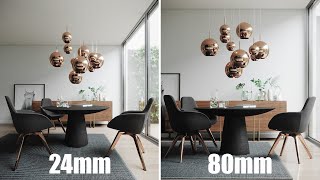
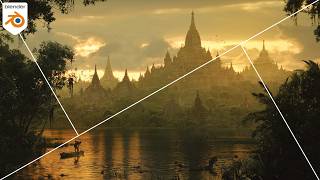
Treat the render camera like a real one. Eye height (about 1.6 m) and a moderate focal length feel natural; very wide angles stretch the edges. Keep vertical lines vertical (two-point perspective) and frame the view before touching quality.
You may notice:
- Buildings look like they are tipping backwards
- Rooms look stretched at the edges of the image
Search for
Quality vs. Time
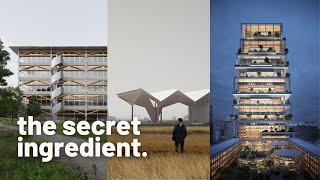
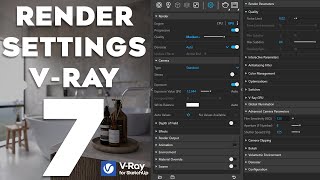
Renderers trade time for quality: more samples mean less noise, more pixels mean more detail, and both take longer. Test views small and fast, then render the final image once, at the size it will be printed.
You may notice:
- One image takes hours, and you only spot the mistake at the end
- The final render looks grainy or speckled
Search for
Post-production
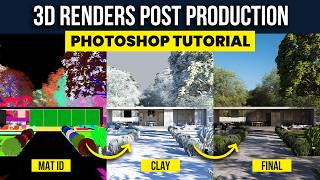
A render is rarely the final image. Small changes in Photoshop — contrast, colour, people and trees — often help more than hours of extra rendering. Export extra passes (masks, ambient occlusion) to select and adjust parts precisely.
You may notice:
- You re-render the whole image just to change one colour
- Cut-out people and trees look pasted on